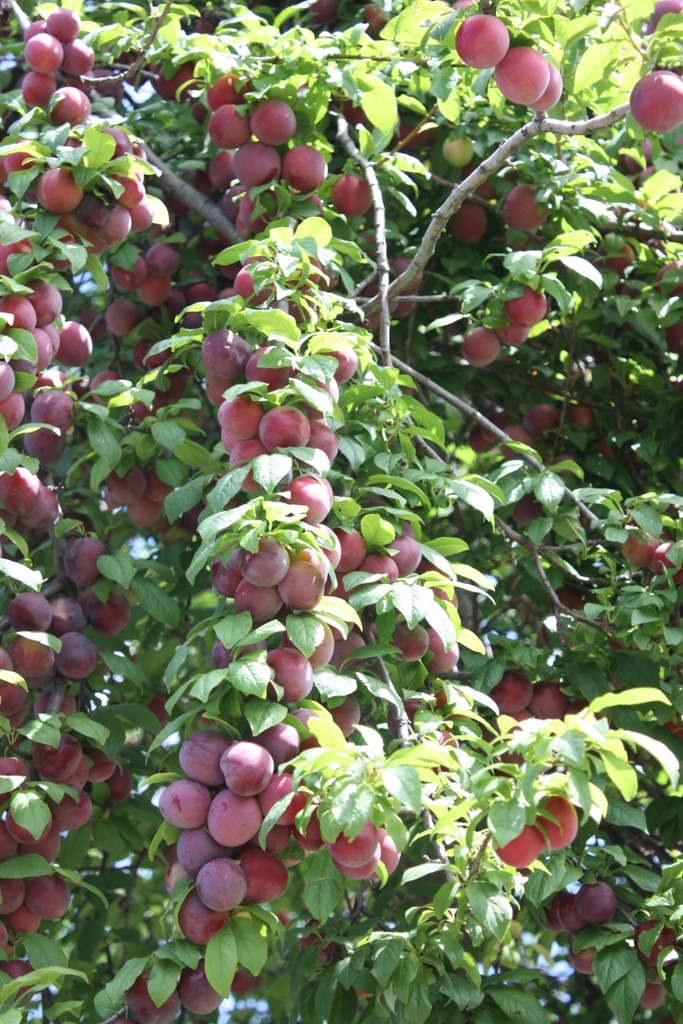
What do you do when your Dad turns up on the doorstep the day after New Years with the biggest bag of plums you have ever seen? Well for starters, whatever else you had planned for the day just goes out the window. And if you have more plum sauce than you need, then naturally, you thoughts turn to wine. Naturally!


Being raised by a father than taught us that you can make wine out of almost anything, and frequently assisting Dad (often without his knowing) with the ‘management’ of his alcohol stocks, I knew that Plum wine would be feasible. I quickly went searching for recipes, and discovered this recipe on the Web, and have added metric measures and also decided to add bubbles to it as well.
On Sunday the whole family was over for my little sister’s 30th birthday, and Dad soon sniffed out my brew, and in he dived with a large glass – no tiny sips for Dad. I have to admit, prior to this I didn’t expect much from this wine. I suspose it was an experiment for me. I hadn’t paid it any attention in the last few weeks.
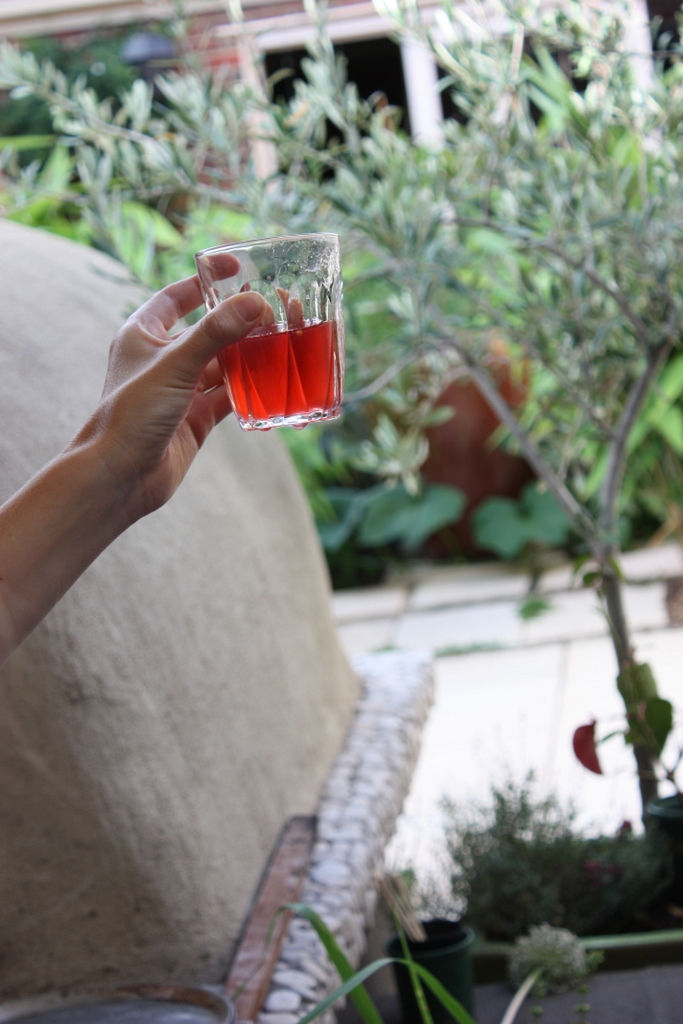
The colour was cherry red, and Dad’s surprise (and Uncle Bob too) it tasted pretty smooth. So I will be keeping this recipe. And certainly with some more time maturing, this wine will be a very nice drink.
To add that little touch of class, we decided to add bubbles. As they say, it’s the bubbles of nothing that make it really something. However, if you aren’t into your bubbles, you can bottle the wine at the end of this process without adding any more sugar.
I made double this recipe. We made 48 x 750ml bottles of wine last night.
Ingredients
- 7.5 kg plums (or strawberries, or peaches)
- 4.5 kgs sugar
- 2 teaspoons yeast
- extra water to make up the volume to 20 litres
What you will need
- large saucepan/stock pot
- 20 litre container
- 2 large pieces of muslin cloth
- large collecting bowl
- 4 rubberbands
- chair
After fermenting
After 45 days you will need:
- 1-2 tablespoons of sodium metabisulfite for sterilising
- About 2 dozen 750ml bottles with caps (thanks Uncle Bob)
- A clear plastic hose for syphoning
- Extra sugar for bubbles
Step 1: Boil down plums
- Leave the stones in the plums
- Boil plums on high for about 15 minutes, until they loose their structure
- After boiling the plums, strain them through muslin that is tied to the legs of an upside-down chair and collect the juice into a bowl (this is messy and mushy and lots of fun)
- Transfer the juice to a clean large container (I used a 60litre kids toy rubbish bin)
- Add the sugar, and yeast fill with water until you have made up to around 20 litres
- Place a muslin cloth over the container opening and ensure it can’t slip off
Step 2: Allow to ferment
- Place container in a warm place, out of sunlight for 45 days. It doesn’t matter how hot it gets (ours sat in the garage during summer)
- Check and stir every week or so, you will see the mixture fizzing a bit, its fine. Just let it be
- After 45 days you will notice that most of the fruit that was at the top of the liquid has now settled to the bottom
Step 3: Bottle
- To sterilise your bottles, rinse them with clean water
- Add 1 tablespoon of sodium metabisulphite to 1 litre of water (don’t smell it, or it can give you asthma)
- You can reuse this water and rinse each bottle with it, and pass it onto the next bottle
- Soak the caps in the sodium metabisulphite
- Then rinse each bottle out with fresh water (I put this water on my garden)
- To make sparking wine, add 1 teaspoon sugar to each 750ml bottle
- Without disturbing the settled pieces at the bottom, syphon off the wine
- At the end, we put the muslin cloth on an upside down chair and strained the last wine out
Step 4: Allow to carbonate
If you are making a fizzy wine, wait a couple of weeks until the sugar has carbonated. With plastic bottles, you can tell when this has happened by squeezing the bottle. It should become very firm to the touch.
Then…try not to drink it all at once! The longer you leave it the better. Dad recently discovered apricot wine he made 25 years ago and it tasted like liquour….so bear that in mind. All good things take time.


I agree 100% with your father’s view that wine can be made from almost anything. I think there’s one or two slightly risk-taking things in what you’ve done. Firstly, the large container you do your fermenting in should really be food-grade plastic. The problem is that whatever exotic industrial chemicals were used to dye your bin that nice bright blue might be soluble, and in particular they might be soluble in alcohol. Also, the little yeasties that do the fermenting are moody little critters, and can stop and start work as they feel like it. So if they slow down mid-ferment, and then after 45 days you bottle the wine, possibly adding more sugar, and then they start work again, the process that makes plastic bottles very firm to the touch might make glass bottles explode. I’ve had this happen twice (not being a fast learner myself) and it is a Horrible experience, because what happens is that you hear one bottle go off like a small bomb, typically when the weather is really hot; then you have to improvise some protective clothing and try to ease the tops off all the others so they don’t explode as well. While you’re doing this, wine will probably be gushing all over the place. There are a number of ways to avoid this dreadful scenario: (a) use plastic bottles, (b) use champagne bottles (for which you can buy reusable plastic corks and wire cages), (c) if you don’t want sparkling wine use the same reusable plastic corks with no cage in normal glass wine bottles, then the wine will simply pop its cork rather than explode if pressure gets too high (store them standing upright, incidentally), (d) test the wine with a hydrometer before you bottle it to check that it’s fermented right out. Hope this helps, happy winemaking.
LikeLike
John, fabulous feedback. Thank you. You obviously know your wine making! You are right – we didn’t plan this much and also had no idea abut what we were doing. I will check for more appropriate plastic (only became aware that this is a ‘food grade’ plastic a few weeks ago, that’s how little idea we really have), and also I need to heed some of the bottling advice you have given. I think after discovering that you can make such beautiful tasting wine, it’s worthy of more research and investment in some proper tools (hydrometer) and the like. I wasn’t even expecting this wine to taste any good. Am now hooked.
LikeLike
Very impressive that the wine tasted smooth during bottling. Certainly no beer or cider I’ve ever made tasted any good at this stage, to the point where I stopped even tasting it at all, but they always turned out ok!
Looking forward to reading about your reviews of the wine taste on this page in 1 month, 2 months, 1 year and then again in 25 years!!
Step 4, the carbonation, also referred to as secondary fermentation, requires the bottles to be stored at a particular temperature, at least with beer the yeast is not as fussy about the temperature during the secondary fermentation, but it still needs to be able to thrive. Also the bottles should be kept in a dark place, but since you used brown bottles (the correct colour for homebrew) that helps already.
Ah, another handy brewing hint, make more batches! It will help you not drink it all at once 😉 Time for a cider maybe?
LikeLike